You’ve booked your flight to Delhi. Your bags are half-packed. Then you hit the Indian Visa Online portal and stare at a form that asks for your grandfather’s birthplace, your visa photo’s exact pixel dimensions, and a list of previous countries visited. It looks like a pop quiz from a bureaucratic nightmare.
I’ve helped three friends fix rejected e-Visa applications in the last month alone. The mistakes are always the same. Here’s exactly how to get it right the first time.
What Exactly Is the India e-Visa and Who Qualifies?
The India e-Visa is an electronic travel authorization issued by the Ministry of Home Affairs. It’s not a sticker in your passport. It’s a PDF linked to your passport number. You print it and show it at immigration.
Five sub-types exist, and you need the right one
- e-Tourist Visa (30 days, 1-year, or 5-year). For pure tourism, visiting friends, or casual short courses.
- e-Business Visa (1 year). For meetings, conferences, or setting up operations. Not for paid employment.
- e-Medical Visa (60 days, triple entry). For treatment at recognized Indian hospitals.
- e-Medical Attendant Visa (60 days). For two people accompanying a medical visa holder.
- e-Conference Visa (30 days). For government-hosted conferences only.
Who qualifies? Citizens of 169 countries including the US, UK, Canada, Australia, most of Europe, Japan, South Korea, and Brazil. Full list on the official portal.
Who does NOT qualify? Diplomatic/official passport holders. Citizens of Pakistan, Bangladesh, Sri Lanka, China, and a few others. Also anyone with a parent or grandparent born in Pakistan or Bangladesh — you need a regular paper visa from an Indian consulate.
The Step-by-Step Application Process (What the Portal Doesn’t Tell You)

The official site is indianvisaonline.gov.in. Not .com, not .org. Scam sites outnumber real ones 5:1. Use only the .gov.in domain.
Step 1: Fill out Part 1 — the personal details
Name must match your passport exactly. Middle name goes in the “Given Name” field if your passport shows it there. Miss this and your visa gets rejected.
Passport number, expiry date, nationality. Double-check the date format — India uses DD/MM/YYYY.
Step 2: Upload your photo and passport scan
Photo requirements: 2×2 inches, white background, no glasses, no head coverings except for religious reasons. File size between 10KB and 300KB. JPEG only.
Passport scan: First two pages. PDF or JPEG. File size below 300KB. The machine-readable zone at the bottom must be fully visible.
Most rejections happen here. People upload selfies with yellow walls or scans where the passport number is cut off.
Step 3: Fill out the address and travel details
You need an Indian address. A hotel name and city works. Don’t make one up — use the actual hotel you booked.
Port of arrival: Choose the correct airport or seaport. Delhi, Mumbai, Chennai, Kolkata, Bengaluru, Hyderabad, Kochi, Goa, and 25 others are e-Visa enabled. If you arrive at a non-enabled port, you need a regular visa.
Step 4: Pay the fee
Fees vary by nationality and visa duration. A 30-day e-Tourist Visa for US citizens costs $25. For UK citizens, £20. Payment via credit card, debit card, or PayPal.
Processing time: 72 hours for most applications. 4-7 days during peak season. Apply at least 7 days before departure.
6 Common Pitfalls That Get Your Application Rejected
I’ve seen every single one of these kill an application. Avoid them.
- Wrong visa type. You’re going for a conference but apply for a tourist visa. Rejected. You’re visiting family but apply for a business visa. Rejected.
- Photo doesn’t meet specs. Shadows on the background, glasses glare, hair covering eyebrows, smiling with teeth showing. Use a proper passport photo booth.
- Passport expires in less than 6 months. India requires 6 months validity from your arrival date. Renew first.
- Blank pages requirement. Your passport must have at least two blank pages. Immigration officers check this.
- Previous visa violations. If you overstayed a previous Indian visa, even by one day, your new application gets flagged.
- Mistakes in the “Previous Countries Visited” section. List every country you’ve visited in the last 10 years. Missing one can cause delays or rejection.
What Happens After You Submit? Tracking and Approval
You get an email with an application ID. Use it on the portal to check status. Statuses: “Under Process”, “Granted”, or “Rejected”.
If granted, you download the PDF. Print two copies. Keep one in your carry-on, one in your checked bag.
What if it’s rejected? There’s no appeal. You can reapply, but you must fix the error. If rejection reason is “photo not clear”, upload a better photo. If it’s “previous visa overstay”, you need a regular paper visa from the Indian consulate.
Re-applying costs the full fee again. No refunds.
| Status | Meaning | What to Do |
|---|---|---|
| Under Process | Application being reviewed | Wait. Do not reapply. |
| Granted | e-Visa approved | Download PDF. Print 2 copies. |
| Rejected | Application failed | Check email for reason. Fix and reapply or get regular visa. |
| No Status | Application not submitted correctly | Check payment status. Contact support. |
When You Should NOT Use the e-Visa (Alternatives)
The e-Visa is not always the best option.
Situation 1: You’re staying longer than 180 days. The e-Tourist Visa maxes out at 180 days total in a 365-day period. If you’re doing a 6-month yoga retreat, get a regular 1-year tourist visa from the consulate.
Situation 2: You need multiple entries beyond what the e-Visa allows. The 30-day e-Tourist Visa allows two entries. The 1-year allows multiple entries but each stay is capped at 180 days. If you’re a travel blogger hopping in and out of India every few weeks, get a regular visa with unlimited entries.
Situation 3: You’re arriving at a non-e-Visa port. Land borders like the Wagah border from Pakistan or the Banbasa border from Nepal require a regular visa. So do a few smaller airports.
Situation 4: Your passport has less than 6 months validity. Renew your passport first. Then apply for the e-Visa. Or get a regular visa that might be more lenient on validity.
Situation 5: You have a parent or grandparent born in Pakistan or Bangladesh. You’re ineligible for the e-Visa entirely. Regular visa from the consulate, with extra documentation proving your current nationality.
Final Checklist Before You Click Submit
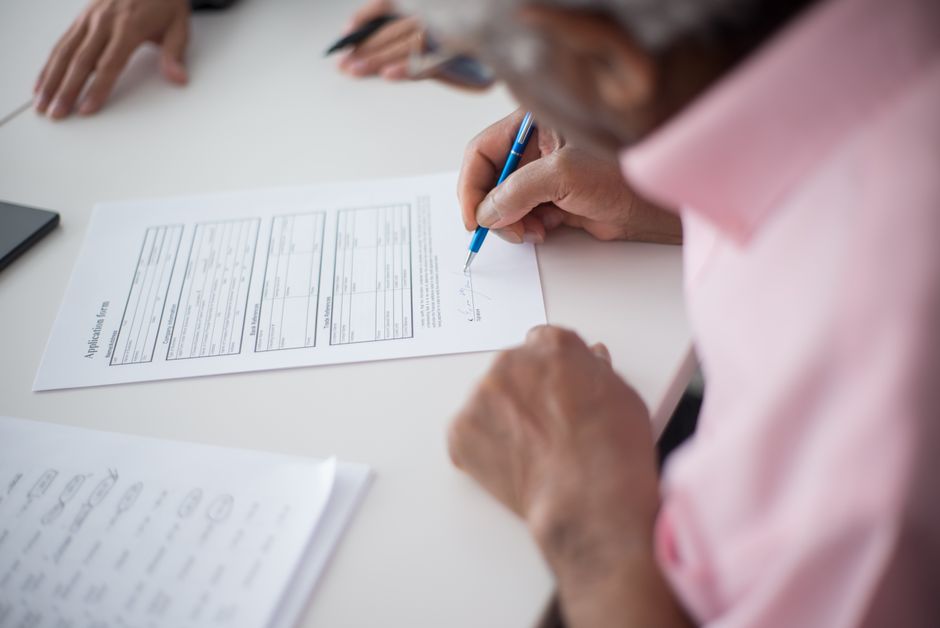
Run through this list. If anything is wrong, fix it before paying.
- Passport valid for 6+ months from your arrival date.
- Passport has 2 blank pages.
- Name on application matches passport exactly.
- Photo is 2×2 inches, white background, no glasses, no smile with teeth.
- Passport scan shows both pages clearly, machine-readable zone visible.
- Indian address is a real hotel or contact.
- Port of arrival is e-Visa enabled.
- Visa type matches your purpose (tourist, business, medical, conference, attendant).
- All previous countries visited in last 10 years are listed.
- You applied at least 7 days before departure.
The India e-Visa system works well when you follow the rules. The people who get stuck are the ones who rush, upload bad photos, or pick the wrong visa type. Take thirty minutes. Do it right. Then go enjoy your trip.